Alternative Authentication Methods
By default, CardinalKit uses Sign in with Apple. If you are interested in using email and password authentication or passwordless login, keep on reading.
Setting up Email and Password Authentication
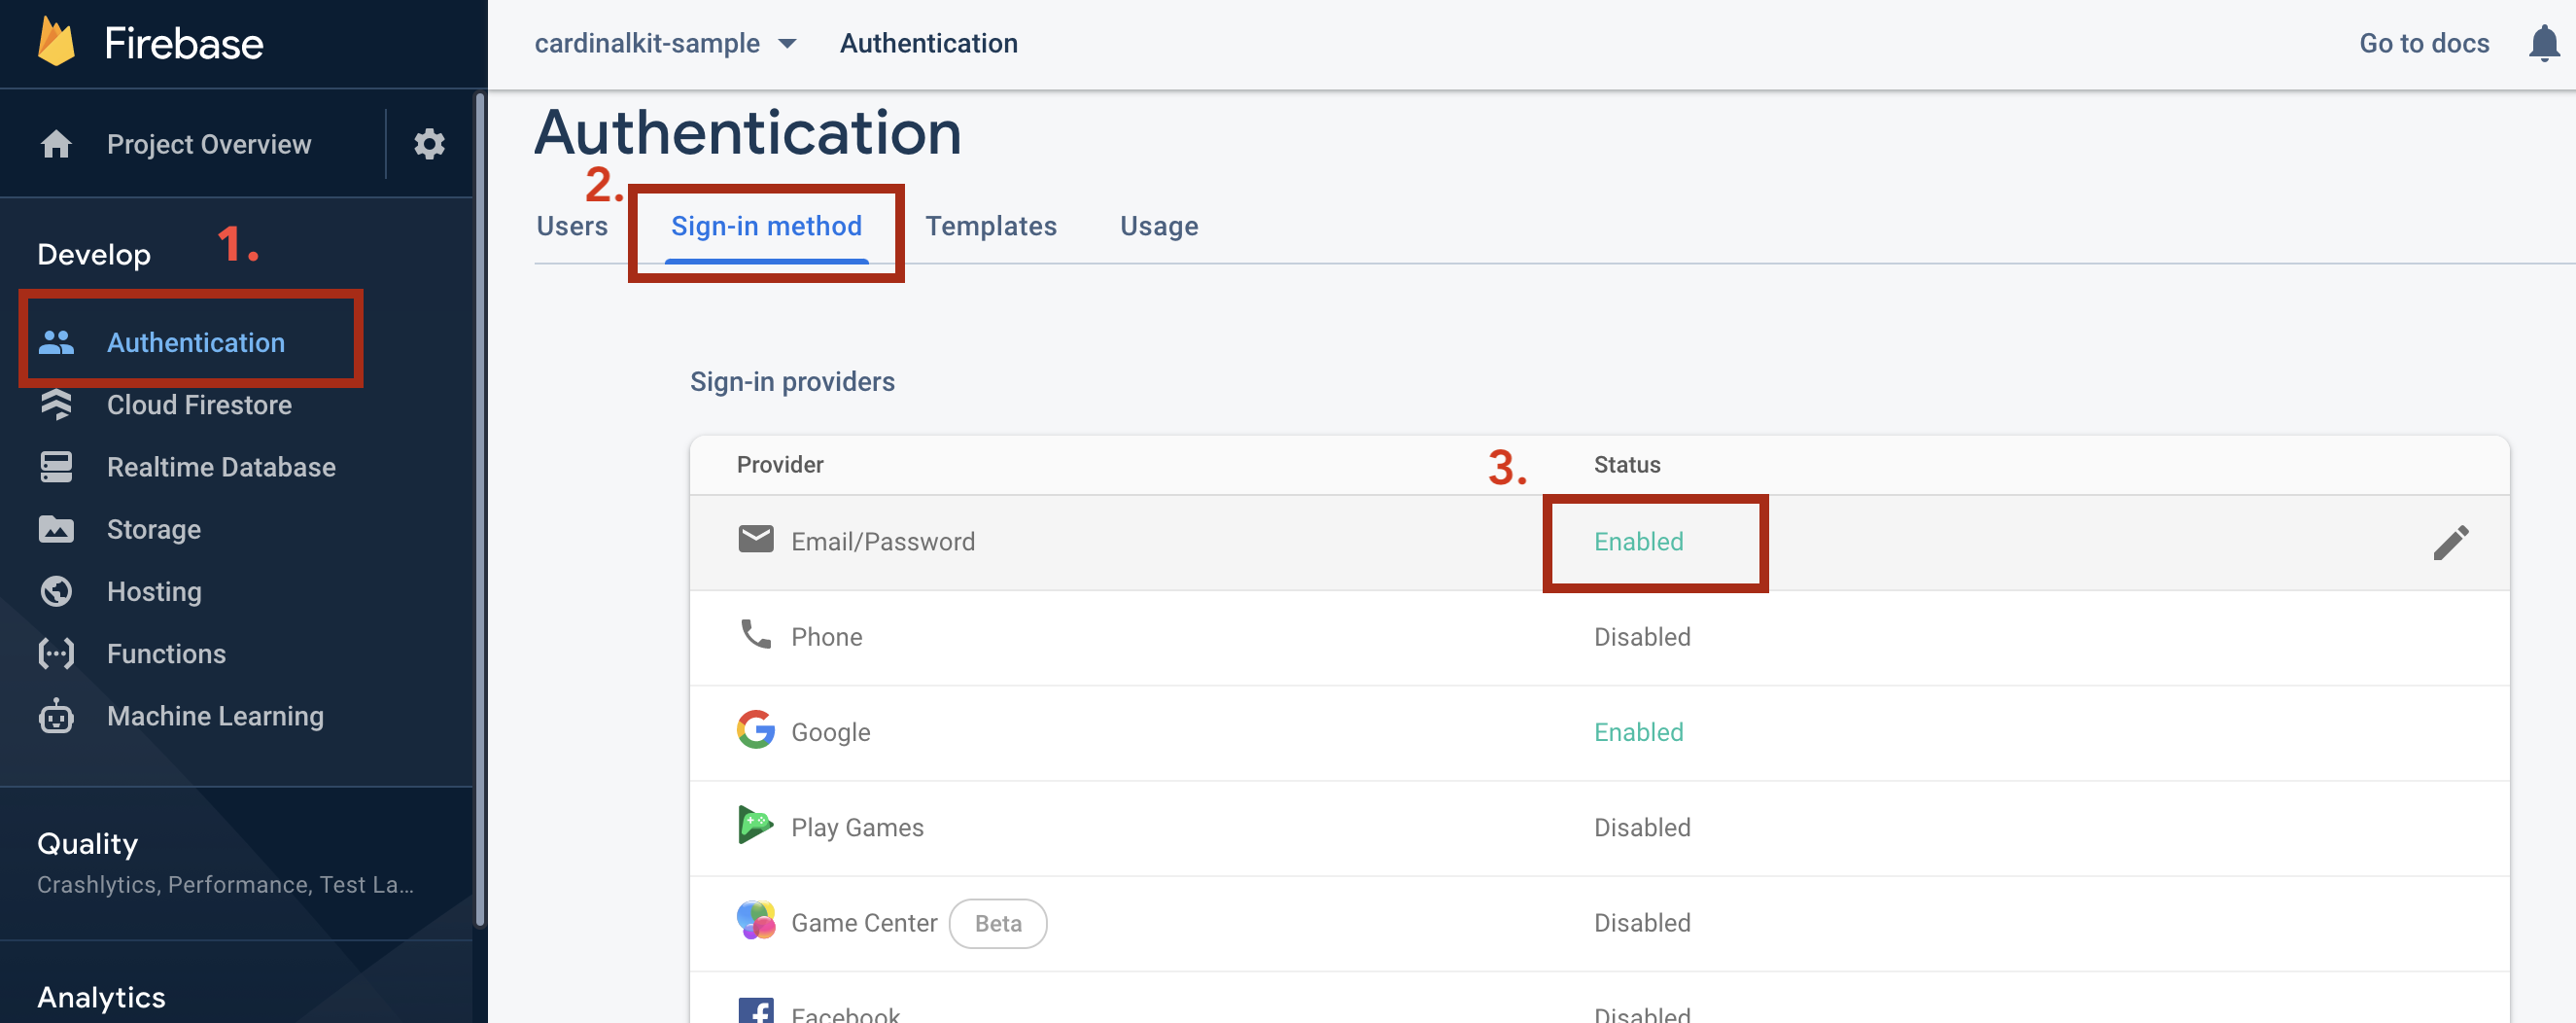
In your Firebase project, navigate to "Authentication" > "Sign-in method" > "Email/Password" and set "Email/Password" to Enabled. This enables all email and password features built into CardinalKit, including a "Forgot Your Password" section in the "Login" step.
In the CKConfiguration.plist file, set "Login-Passwordless" to 0 and "Login-Sign-In-With-Apple" > "Enabled" to 0.

Setting up Dynamic Links
Dynamic links, the process which enables your users to access your application and authenticate themselves simply by clicking on a link sent to them via email, is a common choice for research apps.
1. Add Relevent IDs to Firebase
The first step is to add your Apple Team ID and a random App Store ID to Firebase settings. This informations is required to use dynamic links.
You can find your Team ID in your Apple Developer Account Membership Details. This link will get you to your "Membership Details", just scroll down to Team ID and copy it down.
Go to your Firebase "Project Settings" by clicking the gear icon in the top left and scroll down to the "Your Apps" subsection. Click the pencil icon next to "App Store ID" and "Team ID" and change them to appropriate values. Under App Store ID, use 292922029.

2. Create and Whitelist a Dynamic Link
Now we can create a dynamic link. Navigate to the "Dynamic Links" section in Firebase either from the main page or by the scrolling down on the panel on the left side. Create a new URL prefix.
Firebase will allow to use your own URL but for this project, just type in your project name (or some unique variant) and choose the URL appended by ".page.link" recommended by Firebase. Once you get a link, write it down for later.

Navigate to the Authentication tab from earlier and whitelist your unique dynamic link prefix that you just created. Click "Add Domain" under the header Authorized Domains and type in your prefix.

There will be a link appended by "firebase.app" in the Authorized Domains category. Write this link down for later. Copy this link, navigate to the Dynamic Links tab, and create a new dynamic link using that firebase.app link as the "Deep Link URL". Name the link "Open App". To define iOS link behavior, select “Open the deep link in your iOS App” and select your App Bundle ID from drop down. We can ignore the next two steps (Android link creation and marketing) and jump straight to generating the link.

3. Set up Dynamic Links in Xcode
Let's go back into Xcode and set up our app to interpret our dynamic links. Under the "Signing & Capabilities" tab of the app replace the existing Associated Domain with "applinks:[your-link].page.link" There should only be one Associated Domain at the end.

Head over to the "Info" tab of the App and scroll down to the bottom. Open up "URL Types" and enter your App Bundle ID under URL Schemes. Under Identifier, write something unique like your Bundle ID + ".firebase".

Open up the "CKStudyUser.swift" file in "CardinalKit-Example" > "Components" > "Account". Change the actionCodeSettings.url URL on line 79 to match the "firebase.app" link that you found earlier in the Authorized Domains section in Firebase.

We need to also edit the "Info.plist" file "CardinalKit-Example" > "Supporting Files". Under the "FirebaseDynamicLinksCustomDomains", make sure there is only 1 domain: your page.link prefix domain from earlier.
